Tuesday, October 6, 2015

A Mathematical Card Trick

Teach your child a fun magic trick! All you'll need is a deck of cards and some basic addition, subtraction, and multiplication skills. Your student will love the excitement of using magic (well...more math than magic really) as he practices his computation skills. Allow him to perform the trick in front of the whole family! After playing a few times, challenge your child to help you figure out why this trick works.

What You Need:

  • Deck of playing cards
  • Pencil and scratch paper (for computation)

What You Do:

  1. Find someone to trick.
  2. Ask that person to pick a card from the deck and keep it secret.
  3. Have him double the face value of the card (aces = 1, jacks = 11, queens = 12, and kings = 13).
  4. Ask him to add 3 to their result.
  5. Ask him to multiply this by 5.
  6. Have them add 1 if his card is a club, 2 if it is a diamond, 3 if it is a heart, and 4 if it is a spade.
  7. Ask them to tell you their number.
  8. To predict the card, subtract 15 from the final total. The right digit of the answer represents the suit of the card (1 = club, 2 = diamond, 3 = heart, 4 = spade). The left digit or digits is the number value of the card. For example, if their result is 83, the card is the 8 of hearts. If the result is 134, the card is the king of spades.
Can you figure out how this trick works?

Make a Buck


Get ready to make a dollar...using playing cards! Your child will love practicing addition and decimals with this competitive game. Each card within the deck represents a different cent amount. The first player to accumulate the amount of points equal to a dollar wins.

What You Need:

  • Deck of cards
  • Scratch paper
  • Pencil
  • 2 or more players

What You Do:

  1. Announce the values of the cards. Cards with the values 3-10 have cent values equivalent to their numbers (threes = $0.03, fours = $0.04 etc.). The remaining cards have the following values: Twos = $0.20 (2 cents), Jacks = $0.15, Queens = $0.20, Kings = $0.25, and Aces = $0.50.
  2. Ask one player to shuffle the playing cards and deal 5 cards face down to each player. The rest of the cards should be placed face down in a pile in the center of the table.
  3. Players pick up their cards and keep them private so no other players can see what they are holding.
  4. Encourage players to add up the sum of their cards. If no one has $1.00, keep playing.
  5. Each player should take a turn drawing a card from the deck in the center of the table, and discarding one of their cards face up in a discard pile.
  6. Continue playing until the first player has $1.00 in their hand, or the deck runs out.
  7. The player who gets $1.00 first wins! If nobody has won and the deck has run out, whoever is closest to $1.00 is the winner.

Make a Flip Book for Place Value

Does your fourth grader read numbers up to the millions? Most of the time, kids this age know the basic concept of place value as long as it's with ones, tens, and hundreds. But move higher than that, and they need a lot more practice. As they become confident with numbers up to the millions, they'll feel more successful as math problem solvers, and they'll be more ready for fifth grade too.
You can help just by doing short games like scribbling a long number and challenging your fourth grader to read it aloud. Here's a fun hands-on activity to get your child flipping through place value with ease!

What You Need:

  • Large shoe box (or cut cardboard: 6 x 12 inches)
  • Scissors
  • Construction paper (2 pieces of each color: red, orange, yellow, white, blue, green, purple)
  • Black marker
  • Lined paper
  • Ball yarn pencil hole puncher

What You Do:

  1. Have your child review writing numbers by using a piece of lined paper and pencil to write the following numbers as you read them aloud:
    • 450
    • 4,508
    • 68,215
    • 798,012
    • 1,982,545
    • 3,786,901
    • 8,098,654
    • 6,312,855
  2. After he is finished, check his answers to make sure they're written correctly. Remind him that the number "0" is called a "place holder." For example, without the number "0" at the end of problem #1, their answer would only be forty-five, not four hundred fifty. You may also check to see if he wrote his numbers using a comma after each group of 3 numbers, as in the number "4,508." This will help him to think about the number's place value, or how much it really represents, as he is writing.
  3. Tell your child he will be using what he knows about place value to practice reading numbers in the millions by making a game. Have him get one piece of red construction paper and fold it into 8 sections: fold it in half, then fold in half again, and fold the remainder in half. Then ask him to repeat this process for the rest of the construction paper.
  4. He should then use a black marker to write seven sets of the numbers 0-9. When he is finished, he should have a total of 70 number cards.
  5. Have your child grab some scissors and cut out the number cards on the folded lines. Tell him to cut neatly, to ensure the cards are all the same size. Help him use the scissors to cut out the side of a large shoe box. This will be a rectangular piece, about 6x12 inches. (A cardboard box also works fine.)
  6. Have him use a hole puncher to put two holes in the top of each number card- about 1/2 inch apart. Then have him cut 14 pieces of yarn, about 6 inches each.
  7. Your child should then make 7 piles of numbers 0-9 arranged by color. Ask him to lay out the piles on a table in this order: red, orange, yellow, white, blue, green and purple.
  8. Have your child lay the shoe box piece flat on the table. Then have him place 7 number cards on top of the shoe box piece. Use a marker and draw 7 column lines evenly on the shoe box piece, using the number cards as guides.
  9. Use the hole puncher to make 2 holes at the top of each column on the shoe box. Beginning with the purple cards, have him tie the number cards onto the shoe box into the "ones" column with yarn.
  10. Continue this process using the following order:
    • green cards=tens place
    • blue cards =hundreds
    • white cards=thousands
    • yellow cards = ten thousands
    • orange cards = hundred thousands
    • red cards = millions
  11. Have your child label the bottom of each column with the place value name, such as "ones," using a marker. Then have him begin by showing each of the numbers they wrote on paper in Step1 on the colored cards! Ask him to read each number to you aloud.
  12. Next, extend this activity by having your child create his own numbers!

Master Math with a Rounding Race

This is a simple, fast game that you and your child can make together to help him master rounding with decimals. Find an opponent for your child, or use the clock. Either way, be prepared for a loud, exciting and competitive game!

What You Need:

  • 6–7 sheets of paper or 3" x 5" note cards
  • Scissors
  • 2 black markers

What You Do:

  1. Cut the paper into approximately 50 cards, or use 25 3" x 5" note cards, cut in half.
  2. On each card, write dollar amounts in black marker. Use amounts from a penny, all the way up to $999.99. For example:
    • $38.14
    • $750.77
    • $10.75
  3. Briefly review the process of rounding to the nearest dollar. Show your child how $38.14 rounds to $38.00. Here's how: the “ones” place comes just before the decimal, circle it (the 8) and look at the number to its right – 1 – which is less than 5. Therefore, the 8 stays the same and the 1 gets knocked down to 0. You have successfully rounded to $38.00. Have your child practice rounding with a few cards.
  4. Now, it’s time to play! Have your fourth-grader challenge a sibling or friend. Both players sit next to each other facing you. Lay down a dollar card in front of the players. The first player to correctly round the number to the nearest dollar wins the card. Set a timer and play for 3 minutes. The player with the most cards at the end of 3 minutes wins the round. The winner of the game is the player with the best 3 out of 5 rounds.
  5. If no one is available to “race” your child, challenge her to play against the clock. Set the timer for 3 minutes. Show her dollar cards one at a time and have her call out the rounded amount. See how many cards she can get in 3 minutes.
  6. Challenge her to beat her record and reduce her time to 2 minutes, then 1 minute.
It’s always more fun if you supply “prizes” for the winner (and a consolation prize for the runner-up). But whatever way you crack it, this game will give kids another reward—the ability to approach rounding without fear.

Monday, October 5, 2015

Fraction Bookmarks


Create fraction bookmarks for your students.  This is a great way for students to get familiar with fractions even when they aren't doing math.  It also can provide them with the ability to recall this bookmark when taking tests or quizzes, as well as, supporting them on their math classwork or homework.

Click Here for Source

10 Ways to use 10 Frames


Post Written and Created by Math Maniac
Clip art by Whimsy Clips

My students are so engaged by the changing of the seasons and learning with a theme that I try to incorporate the seasons into what we do each day. Because some members of our school community are not really into celebrating holidays in the classroom, I try to stick with lots of activities around the different seasons rather than specific holidays. Fall is a great time to bring pumpkin, apples and leaves into the classroom. When I saw this great set of 10 frame clip art byGraphics From the Pond I knew I wanted to make a new set of 10 frame cards.

When I made a set of cards and spend time and money putting them on cardstock or laminating them, I want them to serve more than one purpose. Ten frames (andtwenty and five frames) have so many uses in the classroom, so I put together 10 ways to use these cards with kids. These activities work great in Kindergarten and first grade classes and can be used for whole group, math centers or interventions. With the mix of ten frame cards and numeral cards, it is easy to differentiate the activities to meet a diverse group of needs.

10 Frame Flash

This makes an excellent whole group, small group or partner activity. Simply flash the 10 frame at your students for 1-3 seconds and then ask them how many pumpkin seeds they saw and how they know they are right. Read more about this here!

Matching Numerals and 10 Frames


As a whole group game this can be a lot of fun and a great way to work on numbers to 10! Pass out 10 frames and numerals and ask kids to find their match. You can then display them on a pocket chart and talk about what they see. Kids can also do this on their own or with a partner. Spread out all the numeral cards and make a pile of the 10 frame cards. Have the student(s) pick a card from the 10 frame pile and find it’s match in the numeral pile. You can also switch this around and spread out the 10 frame cards and have them pick a numeral card.

10 Frame Memory

An easy twist on a classic game! This game is great for kids to play with a partner or in a small group. Simply mix all of the cards together, do a bit of shuffling and then arrange in a rectangular array. If your students are not ready for all the 10 frames you can pick and choose. Just make sure you have the corresponding numerals and 10 frames!

Note: Your students should be familiar with matching 10 frames before trying this activity!


Sequential and Non Sequential Ordering

These activities can be done as a large group by giving each kid a number (until you run out!) and having them get in order from least to greatest. It also works great as an individual task or a partner activity. Once kids have the cards in order, it is a great time for kids to practice counting forward and backwards. Makesure your students get a chance to put numbers in order that are not sequential aswell. This activity can be done with just the numeral cards or with both the numeral and 10 frame cards together.


Roll and Build

This is a simple and effective game! All you need is some blank 10 frames, 10 sided dice and pumpkin seeds. If you don’t have pumpkin seeds bingo chips or other small markers will work just as well. Students can play alone or with a partner. Roll the die, and build that number on the ten frame. This goes much faster if kids do not remove the bingo chips each time but just add more or take some off as they roll. The pumpkin seeds I used got rinsed off and left out for a few hours on a towel to dry. The kids had a lot of fun with them!


Odd and Even Sort


These cards are a great way to practice odd and even numbers. Using the 10 frame cards is easier than just the numerals but when your students are ready go ahead and use them all! Check out more ways to work on odd and even.

Flip and Write Combinations of Ten


You can never have to many games for combinations of 10 and this is a great one requiring little teacher prep. Give the student a stack of 10 frame cards or numeral cards if they are ready. Have them flip over a card and write an equation showing how many seeds they see and how many more they need to make 10. I usually have kids create their own record sheet for this activity on a piece of scrap paper. It saves prep time and money! You also might want to check out computer games for combinations of 10.

Make 10 Go Fish

This is one of my students’ favorite games for practicing combinations of 10. Mix two sets of the ten frame cards together. Shuffle and distribute 4-5 cards to each player. Have each kid look for matches that make ten. For example the 3 and the 7 are a match and the 6 and the 4 are another one.

When all matches have been found in individual player’s hands, have them play go fish. If I have the 2 card in my hand, I would ask another player, “do you have the 8 to go with my 2 to make 10?” That player would respond “yes I do or no I don’t have the 8 to go with your 2 to make 10. This language can be challenging to students when you first start but they will catch on quick!

Read more about how I use this game in the classroom and see some pictures of the game in action.

Pyramid 10


This is played like the classic solitaire game pyramid. Mix two sets of ten frame cards together or use one set of ten frame cards and one set of numeral cards if your students are ready. Students make a pyramid and find matches that make ten.

Read more about how my students play pyramid and see more pictures!


Mystery Card (Addition and Subtraction)

This is a fun game and a nice challenge when students are ready. This game must be played in groups of 3. Two players choose a 10 frame card and place them on their foreheads. The third player finds the sum of the two numbers on their foreheads and tells what it is. Then each of the players with cards on their heads looks at the other person’s card and tries to determine what card they have. This lets one student practice adding 2 numbers under 10 while the other two students practice solving missing addend or subtraction problems. The 10 frame visual really supports this learning.

I like to change out the 10 frame playing cards with the seasons to keep things fresh for my students! You can grab the pumpkin playing cards here or the spring seeds card set here.

Multiplication Lesson


Post Written and Created by The Teaching Thief

  
We started our unit with a quick brainstorm of multiplication and I was very impressed with my results. Here is the list my students came up with:

12 x 12 = 144 - Those are called facts.
Anything times 0 equals 0.
Anything times 1 equals itself.
3x4=12 is just like 4x3=12. We call that a fact family.
You can draw a picture of multiplication by using circles and sticks.
It is repeated addition.
You can draw it by putting 4 dots down one said, and three dots across and then fill it in. (She knew about an array, but didn't know what it was called.)
It is like skip counting.

I must say...well done 3rd grade teachers...WELL DONE!

That is a pretty good list for the first weeks of 4th grade. We spent the next two days talking more and more about arrays. You know...building up our math vocabulary, learning the difference between rows and columns, and finding arrays all over the classroom.

Then, we made our Multiplication Posters to show off what we know. First, I showed them my example. Sorry, I forgot to take a picture, but it was really nice. I promise.

I wrote in my best handwriting, used different colored headings for each quadrant, organized my array by color (i.e. red row, blue row, etc.), and made my equal groups using all the same kind of stickers.

Then, I let them go. Not one turned out just like mine.


Naturally, many of the arrays were a hodge-podge of colors.


They also used as many different kinds of stickers as possible.
Please ignore the incorrect multiplication fact in the upper right corner. *shakes head*


All and all though, the posters turned out pretty great. It was a great review for kids on multiplication.

I would love to say that these were 100% my idea, but y'all know...I'm the Teaching Thief. I combined two terrific ideas I found through blogging and Pinterest.

First, I pinned this over the summer. (Mine looked a lot more like this. I'm a rule follower. My students are clearly more creative. *wink, wink*)


I used this same concept in the past, but only with drawings. I loved the addition of stickers and food. It made it is WAY more entertaining. Unfortunately, I don't know who to credit with this marvelous idea, so if it was you, please let me know.

I also found another great idea from Mr. B's Beach Brains. Um... edible arrays?! Yes, please.


And so...our edible multiplication posters were born. My kiddos had a blast putting together the posters and they make a really nice display in the classroom. Very colorful and fun!

Pumpkin Math


How Many Seeds in a Pumpkin?

Post Written and Created by Math Maniac


This story is about a group of kids who are asked by their teacher to figure out how many seeds are in 3 different pumpkins. They talk about the size of the pumpkins, estimating and counting ideas. Some kids count by 2's some by 5's and some group the seeds into piles of 10. There is also some great information in this story about how to estimate how many seeds a pumpkin has just by looking at the outside.

I love this lesson because it combines my love of math literature with counting and estimating routines. I began this lesson by presenting my students with 2 pumpkins. I did this lesson with second graders but it would work with other kids K-3 with some small adaptations. One was a very small Jack be Little pumpkin and the other was a larger pie pumpkin. I asked them to estimate which one had more seeds. Everyone was convinced that the larger pumpkin would have a lot more seeds. We made some estimates but they were really all over the place ranging from 17-1000.


Next we cut the pumpkins in half and adjusted our estimates based on what we saw. The estimates for the smaller pumpkin ranged from 80-200 and the estimates for the larger pumpkin ranged from 101-320.


The inside of the larger pumpkin


Inside of the smaller pumpkin

Kids worked in small groups and got all the seeds separated from the other guts. When I do this lesson again, I will be sure to have more pumpkins because despite this being a smaller group of students, there were to many kids working on each pumpkin. I would recommend no more than 4-5 kids per pumpkin for optimum working conditions. Kids continued to adjust and refine their estimates as they put the seeds all in one place. It was obvious to all students that there were more seeds in the large pumpkin than the smaller one.


After a quick rinse of the seeds, the groups counted them mostly grouping into 10's. We came to the conclusion that the small pumpkin had 134 seeds and the large one had 285. We spent some time comparing these numbers and wiring them in different ways. We finished up the lesson by reading the book. It was interesting for kids to compare their own experience with counting the seeds to the experience of the kids in the book.

This was a fun fall lesson and definitely one I will be doing in the future! There are a lot of grade levels that I could apply this lesson with.


Ideas for Manipulatives

Created and Written by Jacquie Fisher

 
Teaching kids to count to 100 is a big milestone and one that parents and teachers work on for a few years. 
It's a long journey fraught with numbers like "fifteen-ten" and other assorted creative ways to count. 
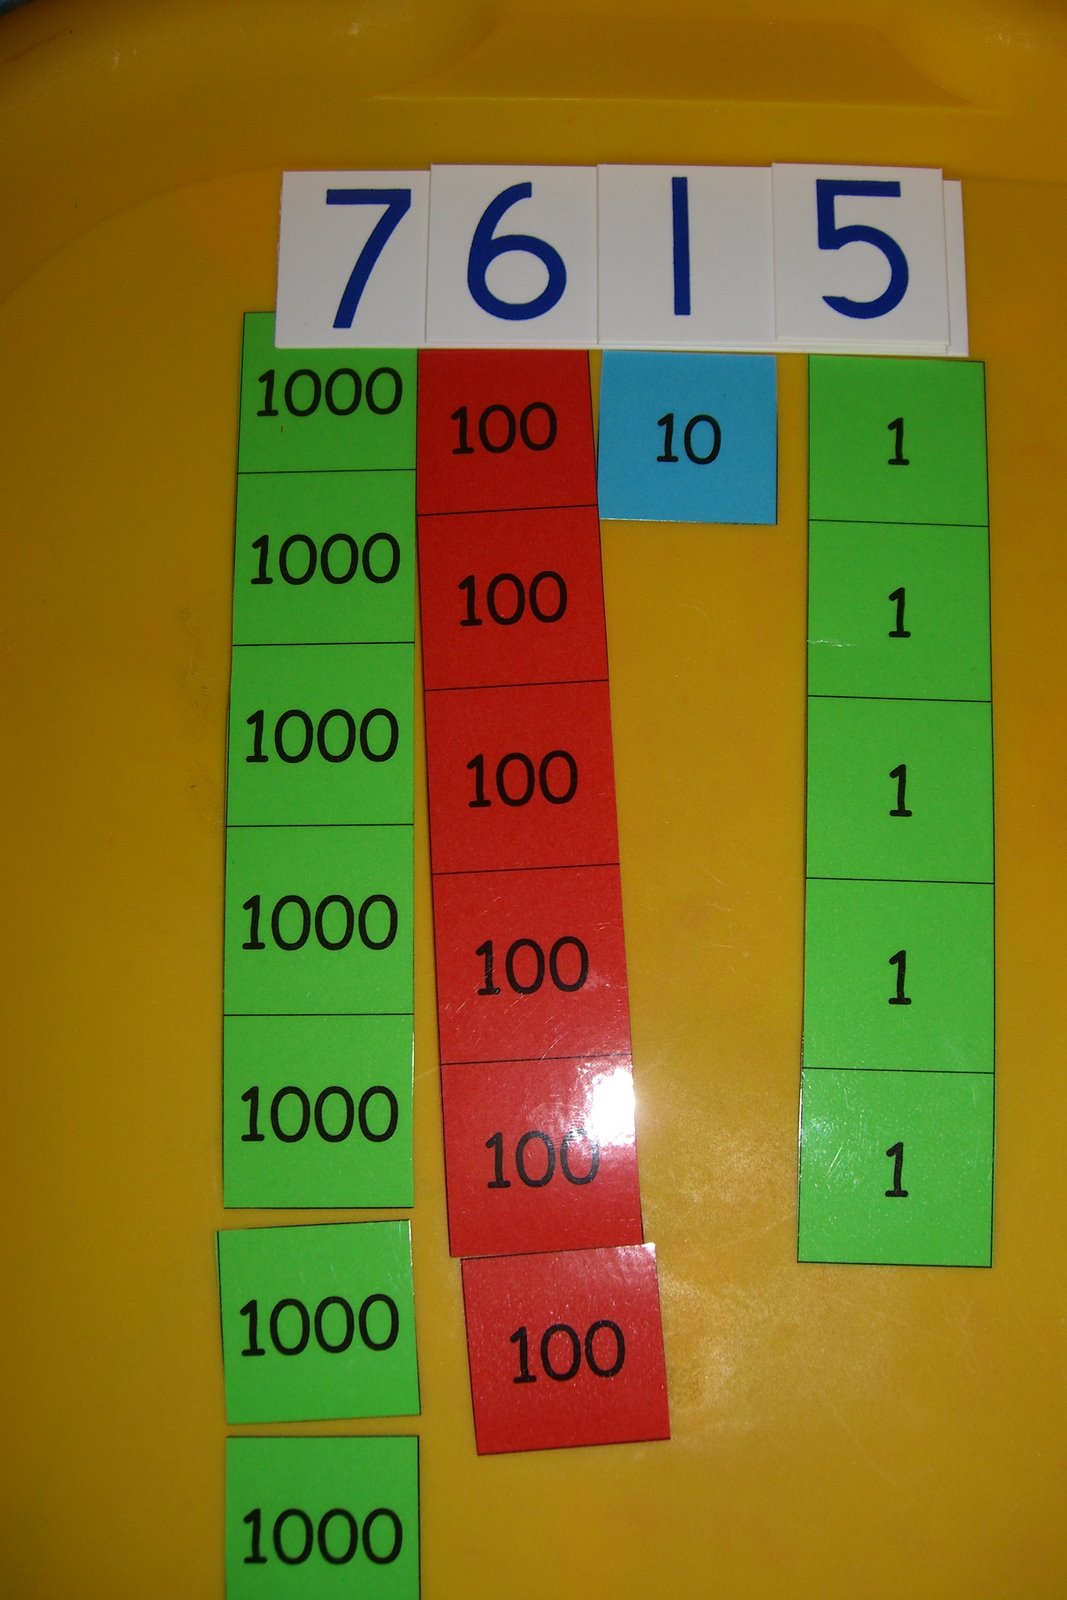
And along the way, kids are also learning to count by 2's, 5's, 10's and categorize numeric values.
For a number of years, I remember my kids coming home with a note asking that each child in the class bring in "100 of their favorite item" to celebrate the 100th day of school.
100 of their favorite item -- whew!  Now those were some long discussions --
Kid:  "How about 100 stuffed animals Mom?"
Me:  How about we think of something a little smaller?
Kid:  "I want to bring in something that the other kids won't bring."
Me:  Ok, how about crayons?
Kid:  No
Me:  Tattoos?
Kid:  No
And so it went for about 50 more suggestions until we finally came up with a winner! 
And in the process, we also came up with quite a list of possibilities in case you're having trouble thinking of small items for your 100th Day of School.

100 days of school math activity

100 Items to Use to Count to 100

There are some super fun ways to help kids practice all this counting.  One popular idea is to introduce a 100's Jar.  Similar to an estimation jar in many classrooms, a 100's Jar holds one-hundred pieces of the same item. 
If you use plastic bottles or jars, you can introduce a number of math concepts such as volume, size and weight.  So the first part of our list includes lots of items that can be counted, sorted, categorized and compared.
I had some extra canning jars that we used to do some counting and comparison.  Just make sure that the jar or bottle you use it transparent so the kids can see & explore the items inside it.  I've also tried to make life easier for you by including affiliate links to items that may not be well-known or might be hard to find.

Items to Count

Since items in this group are so similar, they are great to use for counting by 2's, 5's and 10's when they are sorted.
1.  Paperclips
2.  Pencils
3.  Ping pong balls
4.  Cap Erasers (great to revive old pencils)
5.  Pennies (use with other coins to learn how to count money)
6.  Nickels
7.  Dimes
8.  Quarters
9.  Plastic spoons
10.  Binder Clips (good for finger dexterity)
11.  Puzzle pieces (then put together the puzzle)
12.  Game tokens
13.  Rubber bands

100 Items to Use in your Estimation or Counting Jar

Items to Categorize by Color

14.  Guitar picks
15.  Golf balls (they come in white, pink, yellow and orange)
16.  Crayons
17.  Playing cards (sort by color or suit)
18.  Marbles (sort by shade/color)
19.  Plastic eggs (sort by color or size)
20.  Wooden Beads  (can also be used for threading)
22.  Match box cars
24.  Barbie shoes
25.  Glow Sticks (these are great to wear as bracelets too)
26.  Mini erasers
27.  Socks (just have each child bring in 4 mismatched socks)
28.  Rubber bracelets or rings

Items to Sort & Measure for Height/Length

Grab a ruler and have the kids take measurements while they sort these items.  You can also have them arrange each item from shortest to longest once they are measured.
29.  Barettes (sort by color or length)
30.  Bookmarks
31.  Old keys
32.  Golf tees

Sort by Type

There will be a variety of ways to sort the following items.  Sort animals by habitat, continent, etc.  Batteries can be sorted by type of size, stickers can be sorted by person/place/thing or have the kids come up with their own groupings.
33.  Backpack clip toys or animals
34.  Happy Meal toys
35.  Tattoos
36.  Small Maze Puzzles (by shape or color)
37.  Plastic animal figurines (by animal)
38.  Stickers
39.  Postage stamps (by picture, face value, etc)
40.  Cookie cutters
41.  Trading cards
42.  Shrinky dinks or charms
43.  Batteries
44.  Pieces from board games
Some of our nature items would also fit in this category such as rocks, seashells, pinecones and flowers.  They are all listed below under natural materials.

Comparing 100 popped and unpopped kernels of corn
Such a fun idea - compare popcorn both unpopped & popped!

Items that Teach Volume/Area

I love this type of item -- things that change the space they take up depending on how they are presented to the kids.  These are pefect for a math/science discussion!
45.  Paper or Plastic Cups (stacked one inside the other and stacked as a pyramid)
46.  100 millileters of a liquid (look at it in a cup and then pour it out on a cookie sheet or pie plate to discuss area)
47.  Balloons (both blown up and flat)
48.  Popcorn kernels (unpopped and popped)

Items to Craft with after you Count

So many fun craft projects can be done with these materials so have the kids count and then craft!
49.  Buttons
50.  Mini play dough containers
51.  Pipe cleaners
52.  Paint Brushes
53.  Popsicle Sticks
55.  Q-tips (then use them to paint)
56.  Markers
58.  Plastic beads (make a necklace)
59.  Rainbow loom bands (make a bracelet)
60.  Little Notebooks (use for drawing, tracing or even graphing the 100 items)
61.  Glue sticks 
62.  Cotton balls

Building constellations with toothpicks and marshmallows
If you use mini-marshmallows and toothpicks for your 100's jar, you can then pair them to create constellations for science exploration!

Items that Combine with Science & Engineering for Kids

Super items to use for counting and then experimenting!
63.  Mentos (count and then use them to make volcanoes)
64.  Toothpicks (combine with mini-marshmallows to make constellations)
65.  Sugar Cubes  (yep, the still sell these at grocery stores and you can use them to build too!)
66.  Legos (then race to see who can stack them the quickest)
67.  Blocks (then see who can construct a bridge or the tallest building)

Have a stacking challenge with any of the next three iems --
68.  Checkers
69.  Poker chips
70.  Dice

Food Items to use for 100 Days Snack

A very popular activity is creating a snack mix on the 100th Day so here's a few things the kids might want to eat together --
71.  Pretzels
72.  Marshmallows or mini-marshmallows
73.  Fruit snack packets
74.  Cereal
75.  Dried pasta
76.  Grains of rice (dry and cooked for science)
77.  Jelly beans
78.  Clementine oranges
79.  Mini boxes of raisins
80.  Hershey Kisses
81.  Candy hearts
82.  Grapes
83.  Tea bags
84.  Baby carrots
85.  Cheese sticks
86.  Goldfish crackers
87.  Oyster crackers
88.  Chocolate chips
89.  Cookies
90.  Tic tacs
91.  Gumballs
92.  Sticks of gum
93.  Baby pickles
And don't forget the popcorn from above too!

Counting to 100 with Seashells

Natural items to count, sort and explore

I would suggest having a Magnifying Glass handy with these items so the kids can explore them further.
94.  Acorns
95.  Pinecones
96.  Leaves
97.  Plant seeds
98.  Rocks (use with shells to compare area)
99.  Sea shells
100.  Flowers (real or plastic)

Click Here for Reference

Place Value, Stamp Card Game


You can also use these stamp cards to reinforce the fact that
there are never more than 9 units (or nine 10s or nine 100s, etc.). You
throw a bunch of cards out and then trade for a higher place value
card whenever you count 10. So, if you have 23 10s cards you'd trade
10 10-cards for a 100 card, then another 10 10-cards for a 100 card.

Click Here for Reference

Strategies for Math


Create this anchor chart and hang it up in your classroom!